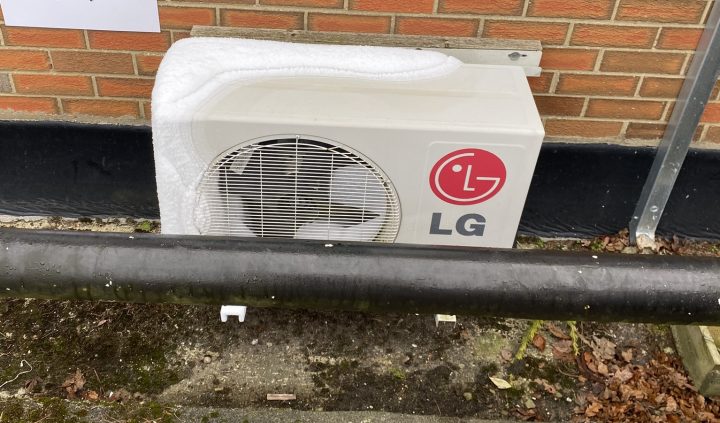
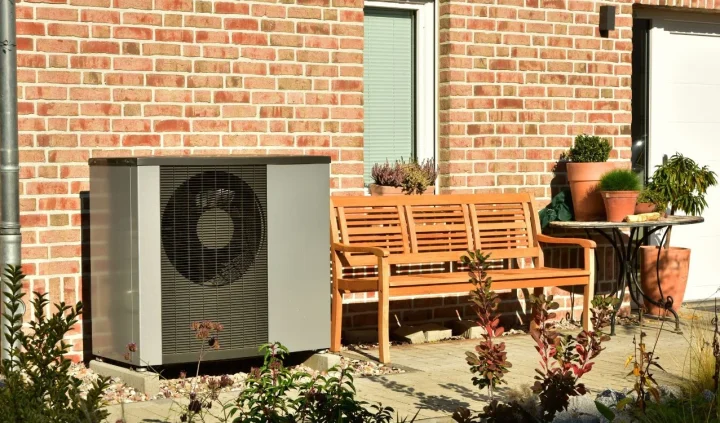
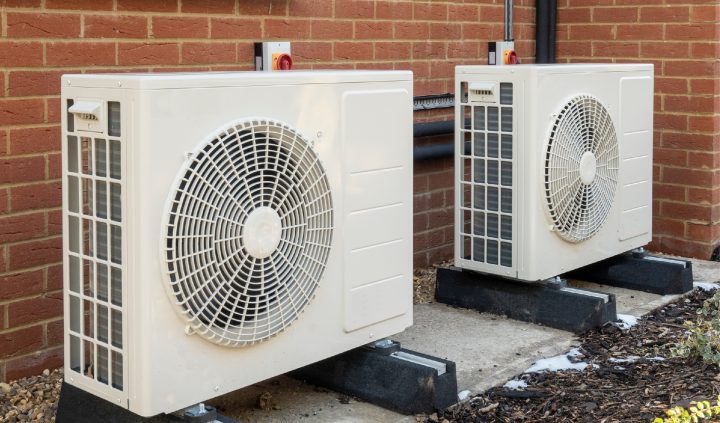
One hazard of an outdoor heat pump/air conditioning unit is that condensation can form around the lines, eventually causing the insulation to rot. If the insulation is not in good condition, the system uses more energy in order to remain efficient, raising your business fuel bills and potentially leading to problems with your heating during the winter and air conditioning in the summer.
If you have a little DIY experience, you could fix the problem yourself relatively simply.
The right tools
Before you start dismantling the rotten insulation, you should obtain the right replacement materials. You can’t generally buy the cork tape or specialist insulation foam that is required for this job from a DIY store; you will probably need to get it online or from an HVAC supplier.
Remove the old insulation
Start by peeling off the old foam insulation and measure the diameter of the outer, larger tube. Cut a piece of the new foam to the right size.
Dry and wrap the heat pump/air conditioning tubing
Before replacing the old insulation, use paper towelling to thoroughly dry the air conditioning/heat pump tubing line. When the tubing is dry, wind a few wraps of poly cork tape around it at the point where the tubing exits your building. You will see a service valve at the condenser end of the tubing; dry this and wrap it tightly with cork tape.
Replace the old insulation
Now slide the new piece of insulation foam over the cork tape to encase the tubing. Peel off the adhesive liner from the foam and align the edges, pressing them together so that they form a neat seam.
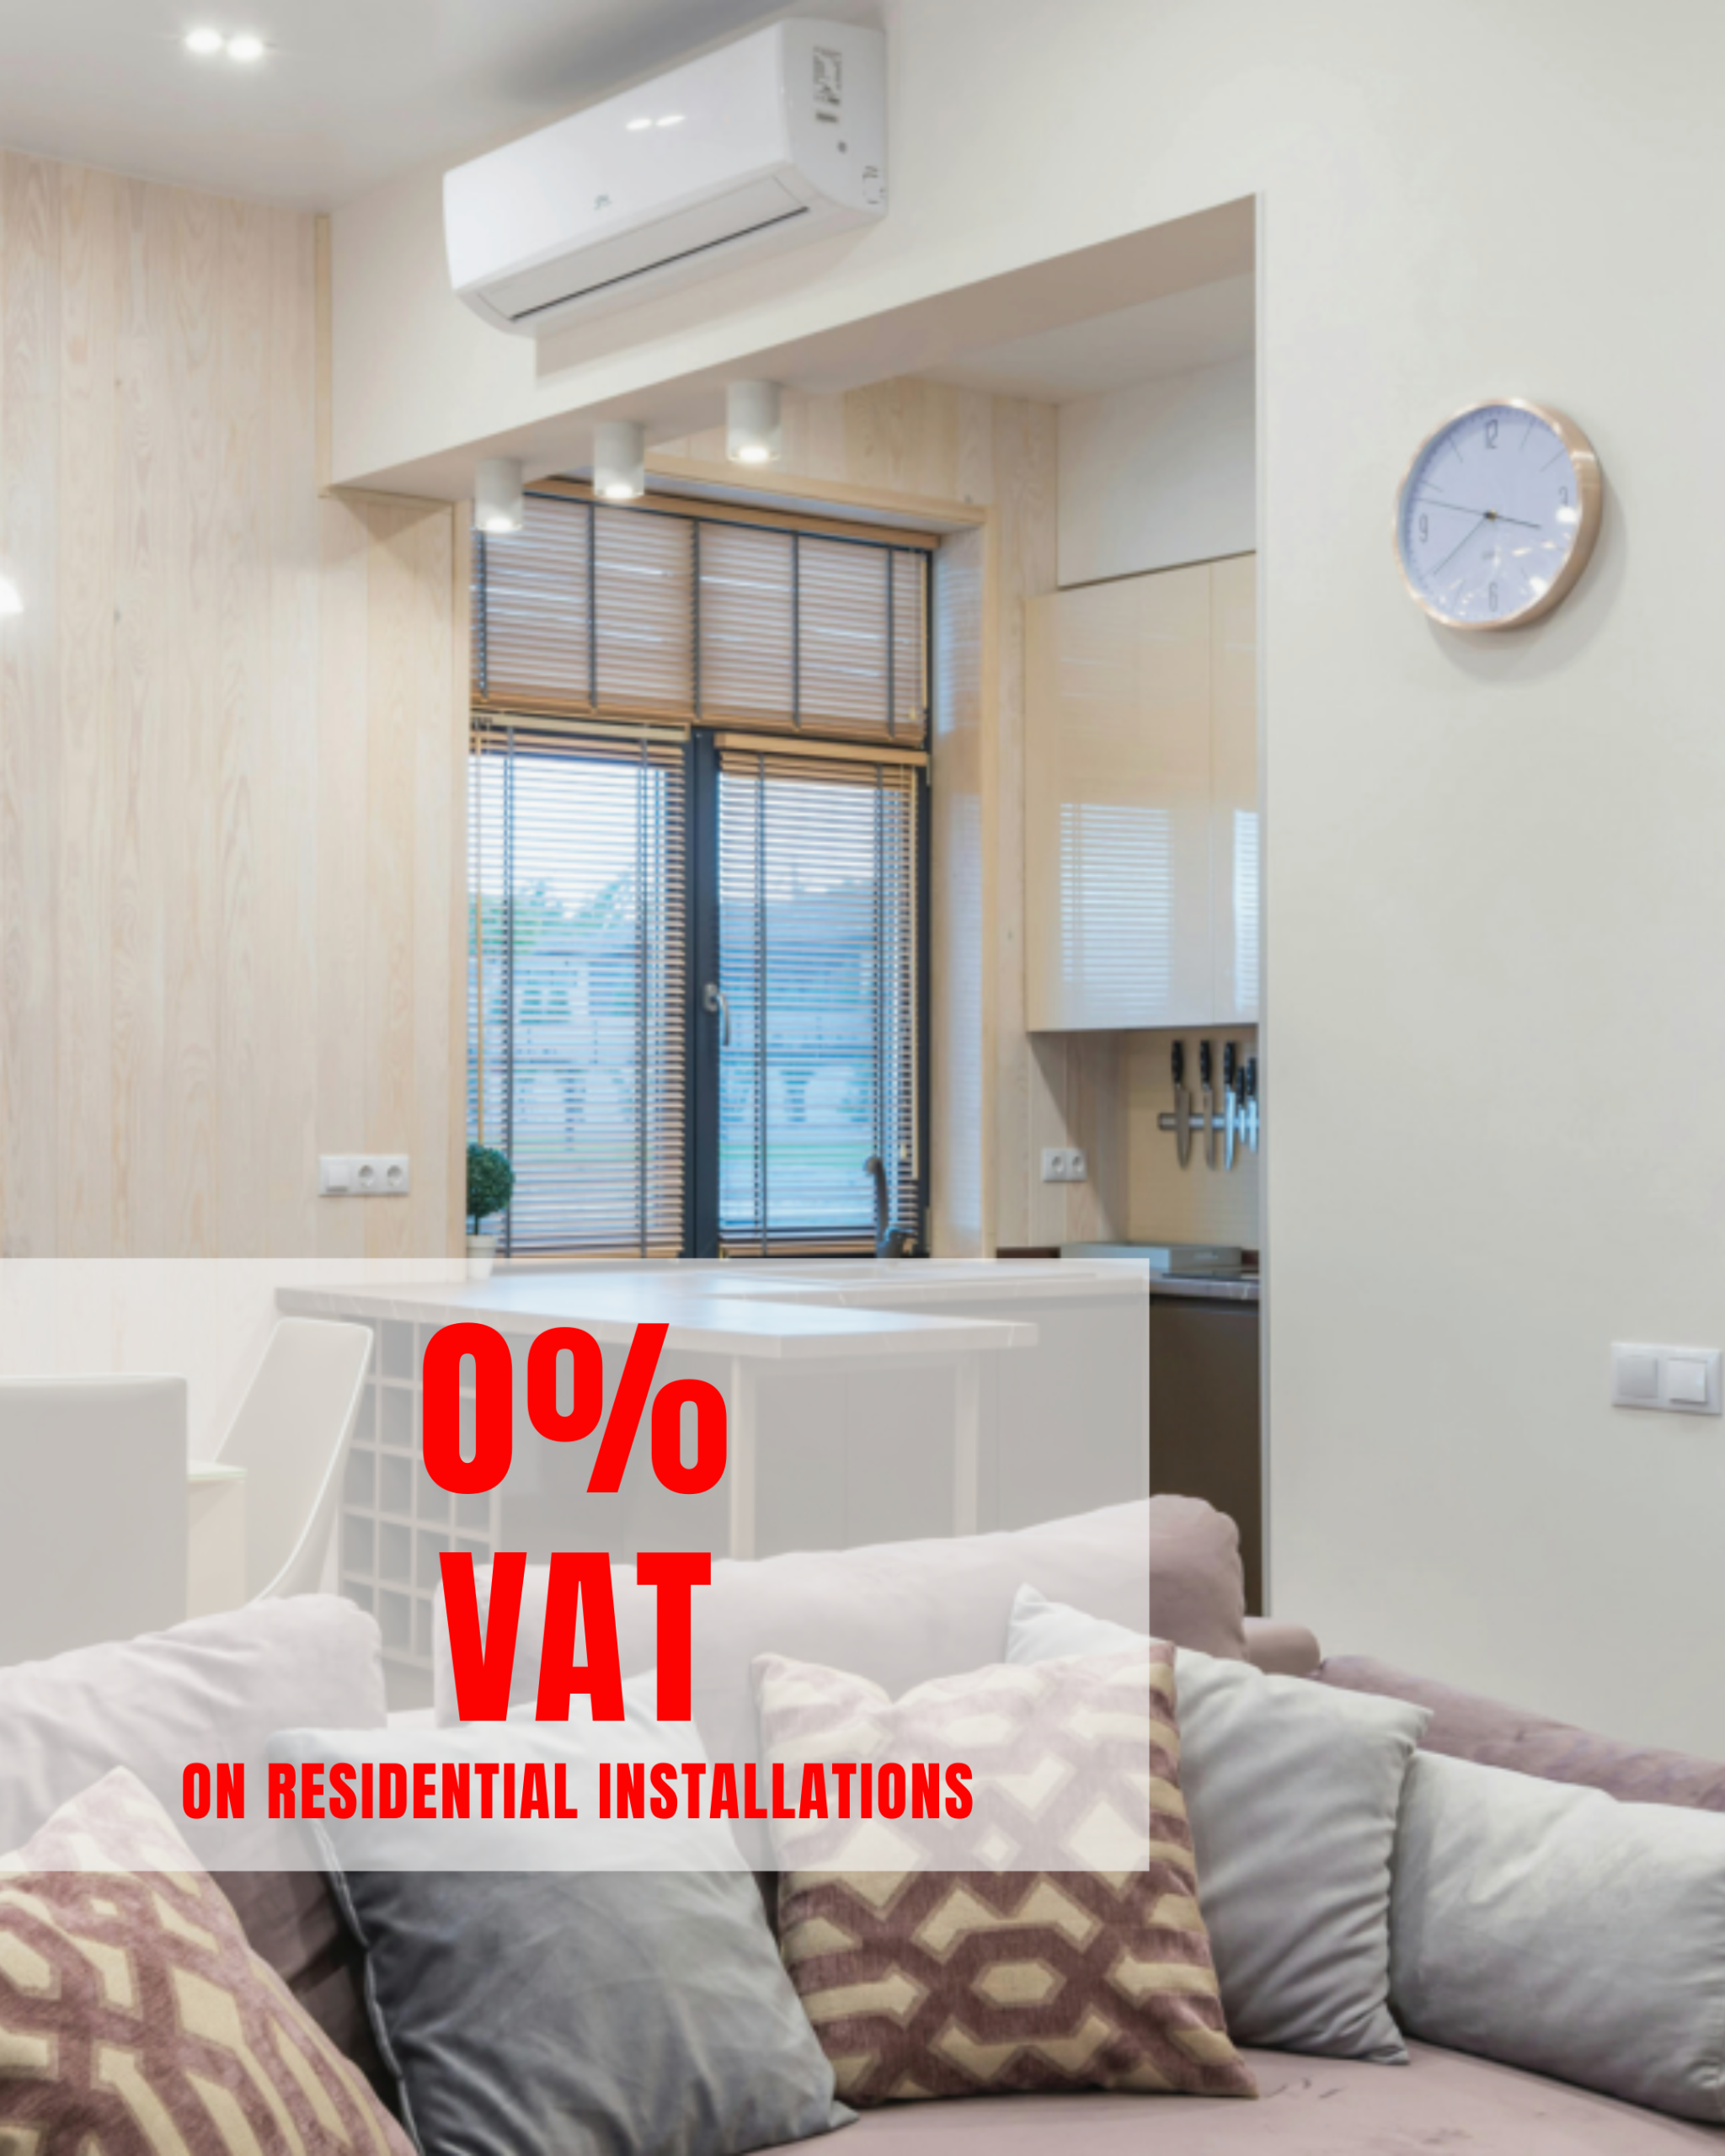
Your heat pump/air conditioning lines will now be protected from condensation and your system should work to maximum efficiency throughout the winter, saving your business money on fuel bills. It is worth carrying out this job annually, rather than waiting for a problem to occur.
If you would rather leave the work to a professional, why not ask our friendly team to perform this job as part of your heat pump and air conditioning system’s annual service?